


1968-1982 Corvette C3 Electric Headlight Conversion Kit Upgrade Generic
$235.88
SKU: C116-175
Free & Fast Shipping
Secure & Trusted Trade
1: According to the original factory specifications,perfect match for the original car.
2: Own different test machines to design exact accurate parameter for our products.All items were tested for performance.
3: Made by high quality material, lightweight, anti-rust, colorfast and durable.
4: Aftermarket product with premium quality.
5: Stable performance, high reliability,suitable for replacing your broken one.
Specifics:
Condition: 100% Brand New
Material:Plastic +Metal
Color:show as pictures
Manufacturer Part Number:does not apply
Interchange Part Number:does not apply
Other Part Number:does not apply
Type:Electric Headlight Conversion Kit
Placement on Vehicle:Front
Fitment Type: Direct Replacement
Fitment:
For Corvette C3 1968-1982
***The only kit that guarantees fitment on C3s with or without AC.***
Package Include:
1x Electric Headlight Conversion Kit
Shipping Information:
Free Quick Shipping to USA.
Estimated Time of Arrival: within 3-8 working days.
Note:
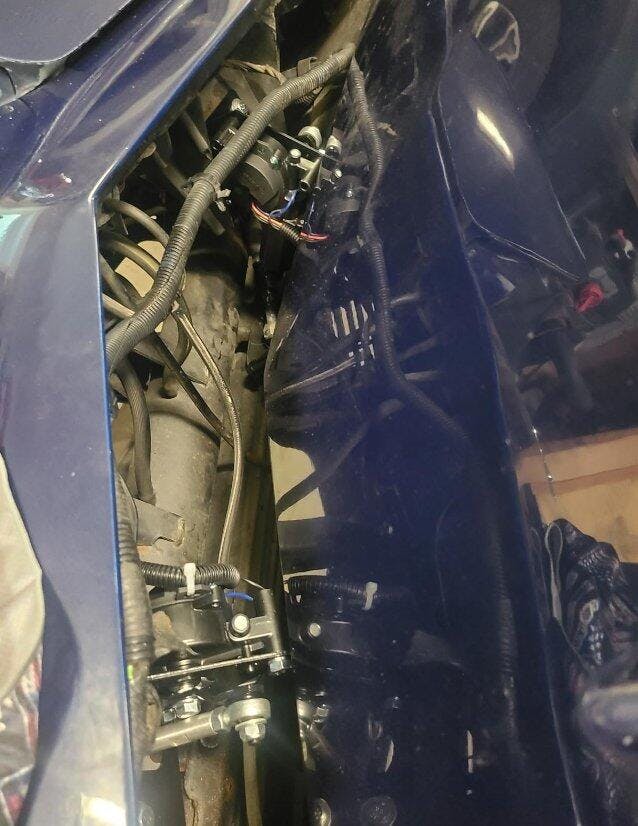
1.The wiring harness is new with an ATC blade fuse, weather pack connectors and headlight connectors. The wiring harness has a short jumper harness that plugs into a high beam headlight and into the factory headlight connector. No control box to mount, just a clean, simple harness. Then, the power wire can be connected to; horn relay, alternator, battery.
2.The wiring harness includes 2 extra trigger wires, which could be used for HALO headlights or an open/close switch.
3.The motors are mounted on the brackets, ready to bolt into place where the original vacuum actuator was bolted. This kit requires no new bolt holes but uses the original holes for the factory parts.
4.The kit does require some material to be removed from part of the assembly, but the mount will reinforce the removed portion.
5.The kit requires approx 3 hours to remove the vacuum parts and install.
Fairly easy to install, very simple to wire. Hooked up to running lights and works flawlessly. Works great.
Overall product works great. Love the instant response now when the lights are flipped on and no more winking! As others noted, was disappointed to find there are no instructions with these units. Although they are plug and play, does take a little thought to install properly. Below are a couple helpful hints for the install.
1. Removing the old actuator relays make room to mount new relay and fuse with existing screws and mount holes.
2. You will need to remove a portion of the old mount bracket to install the new actuator, but it can be cut fairly easy with a multi tool with metal blade. The new until has a strong enough base plate to reinforce. Be sure to reinstall factory support brackets as well.
3. The new actuators are not labeled clearly. There is an R and L at the end of the model number. I assume they mean Right and Left, but if this is the case, the R goes on the right side of the car when you are standing in front facing toward rear of car, not when you are sitting in the car facing forward.
4. The new units come with 4 bolts, washer and nut sets. Two bolts are fixed and two are removable/reversible. I recommend putting the units with two fixed bolts and hand tightening the nut assembly. Due to lack of room and position of brackets on back of factory mount, I recommend installing the other two bolts from the underside and nut assembly on the actuator side. This makes it much easier to get the nut assembly on. The final product isn’t quite as clean, but I cut the bolts flush with nuts and painted black. You wouldn’t notice unless pointed out. Certainly beats driving yourself crazy trying to get the nut assembly on the other way.
5. Finding the correct wiring configuration is crucial to get them to operate correctly. I utilized the ground in front of car for black wire, ran red power wire to positive connection on alternator. The blue remote wire is the tricky one. I fed through the firewall and connected to the power supply that feeds the high/low dimmer. On the 77 Vette, this can be found at the base of the steering column on left side. Once you remove the cover, look for a quick connector that ties into a green switch. Note, when you pull the lever on column to switch high/low beam lights, you will see a push rod that activates this green switch. On the quick connector, there are three wires, a tan wire that powers the low beam bulbs, a green wire that powers both the low and high beam bulbs and a light blue wire. This light blue wire is the power feed from the on/off switch on the console. Make the tie in to this blue wire, this way the lights will pop up when lights are turned on and you will be able to switch between high and low beams while driving. This also gives you the ability to use the running lights without the headlights popping up.
Overall, took me a little under three hours to install, but could have gone faster if I had know some of the info above.
Installation was simple, and the quality is top-notch. Highly recommend!
Quick shipping, easy installation, and now my car has a sleeker look with better visibility on the road. Great buy!
These parts transformed the lighting output of my vehicle, providing superior visibility on the road.